

Team management
Roles, invites, and last-owner protection.
Multiple humans, one Rekomi organization. /dashboard/settings/team is where you manage who has access and what they can do.
If you run Rekomi inside the Shopify, Wix, BigCommerce, or WordPress app, you can also manage your team without leaving your store admin: the app's Settings > Team section shows members, pending invites, and seat usage, and lets you invite, change roles, and remove members. Invites are always accepted on the web (the teammate follows the email link and signs in at app.rekomi.com), and ownership changes stay in the web dashboard. In WordPress, the Team section is available to site administrators only.
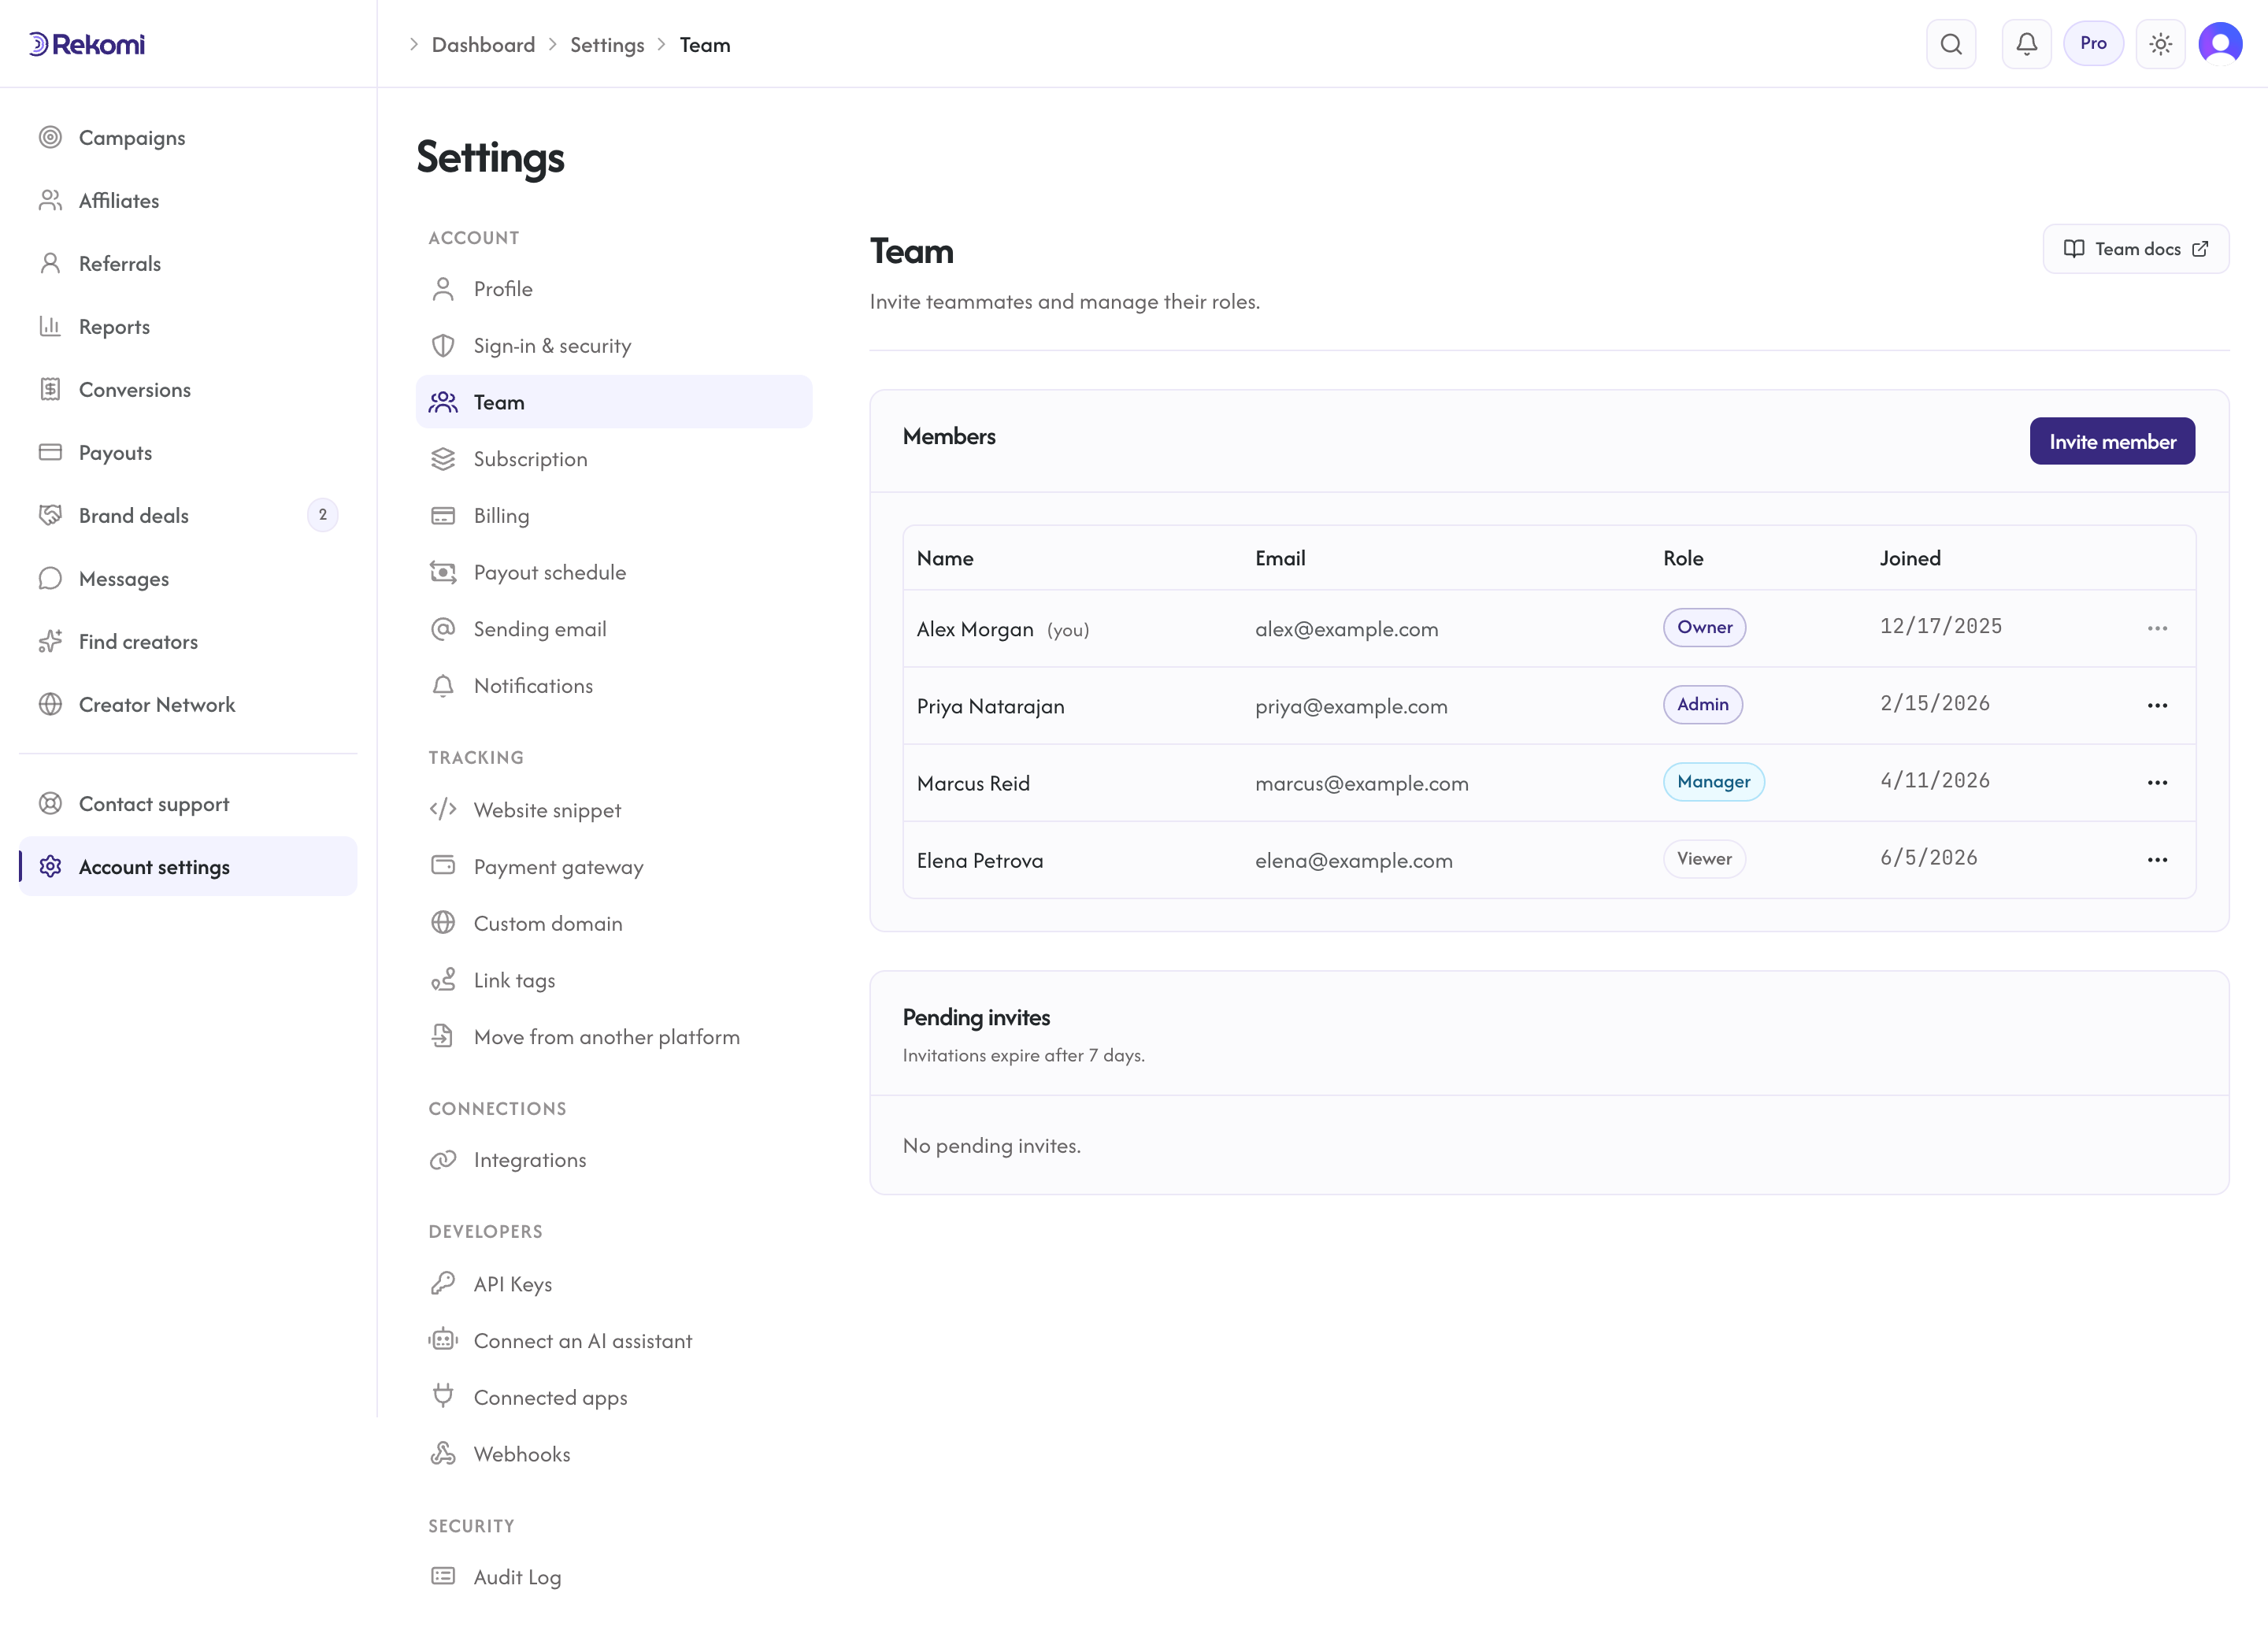
Roles
Four roles in a strict hierarchy:
- Owner: full control, including the things no other role can do: deleting the organization, granting or removing the Owner role, and creating API keys and MCP tokens (which act with full access).
- Admin: everything else. Admins connect payment gateways, run and reverse payouts, manage billing, invite and manage the team (except anything touching the Owner role), configure webhooks, and change every organization setting. If it is not account deletion, ownership, or API-key creation, an Admin can do it.
- Manager: can manage campaigns, approve or reject affiliates, and send broadcasts. Managers can view payouts but cannot run, retry, or reverse them, and cannot change settings or webhooks.
- Viewer: read-only access to campaigns, affiliates, and conversions; payout and audit-log pages are hidden from Viewers.
The owning user when an org is created has the Owner role. There must always be at least one Owner.
Invite a team member
From /dashboard/settings/team, click "Invite member". Fill in:
- Email (where the invite goes)
- Role (Admin, Manager, or Viewer)
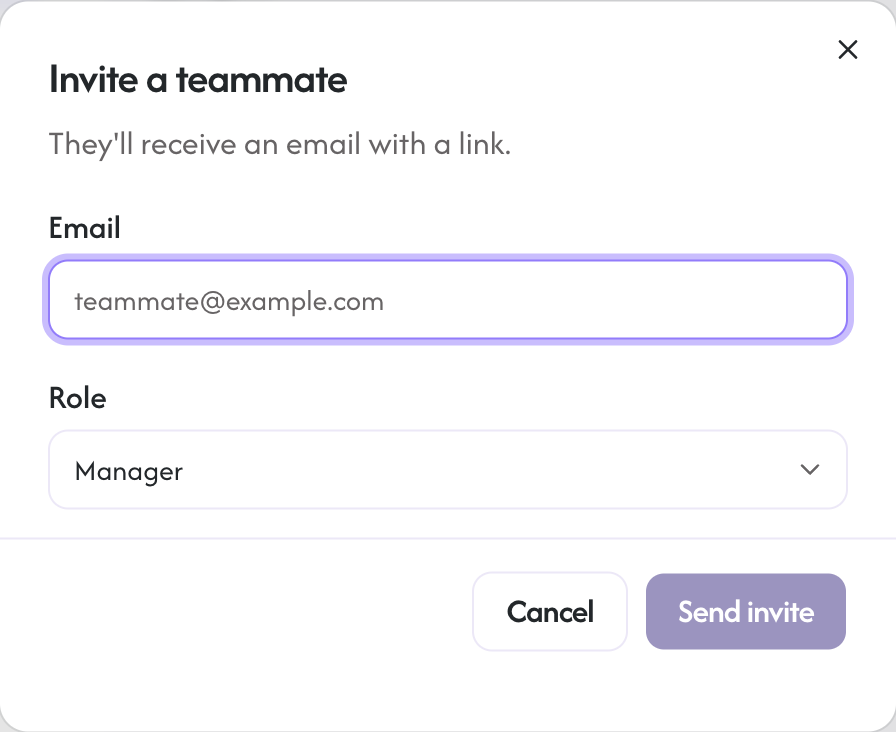
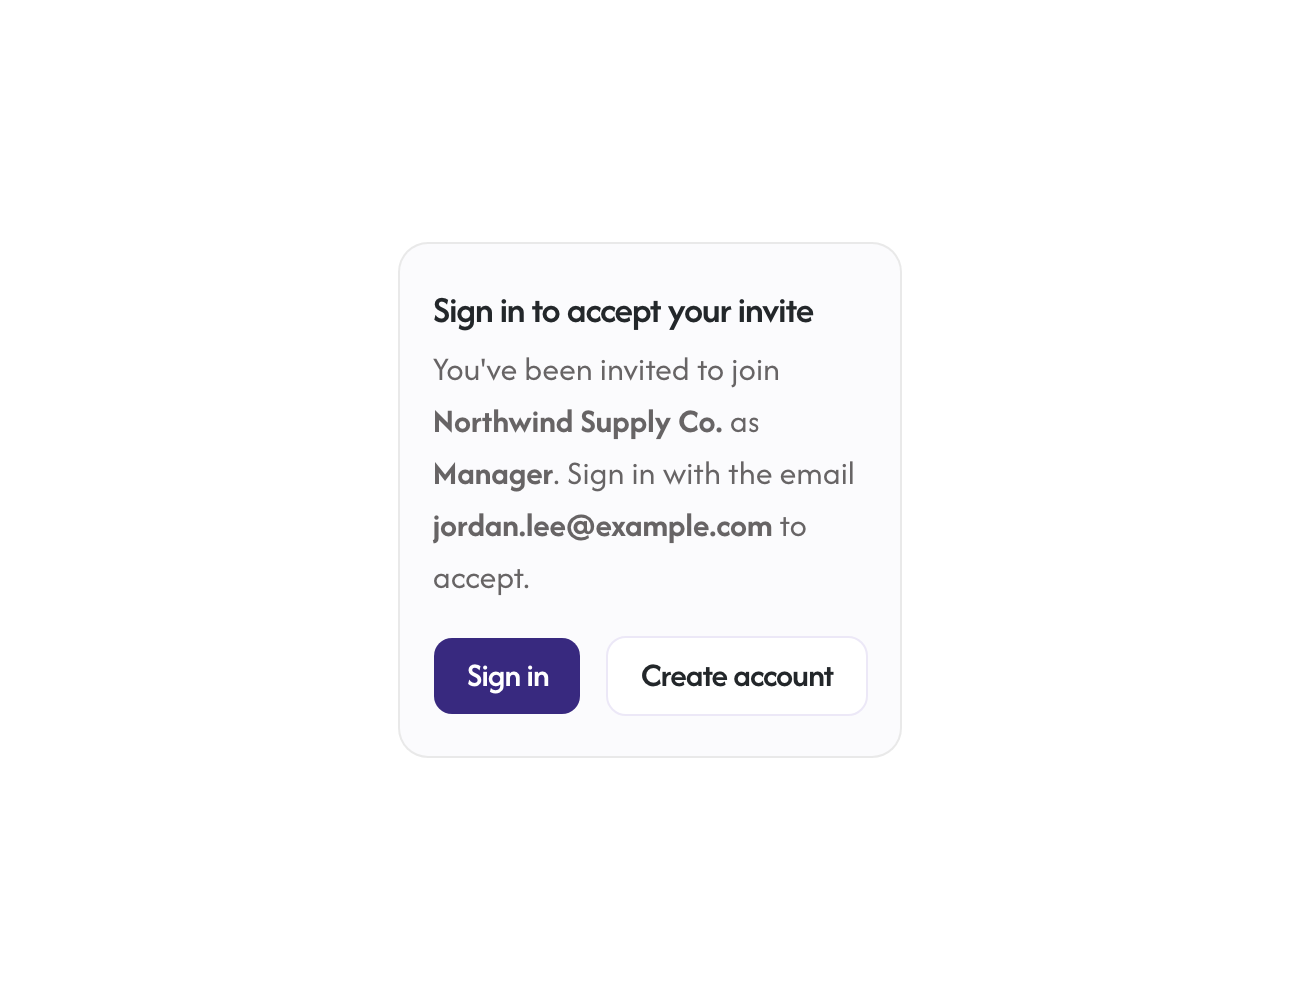
Rekomi generates a one-time invite link and emails it to the recipient. The accept URL looks like https://app.rekomi.com/invites/{token}. The page checks whether that email already has a Rekomi account and shows one primary action: Sign in to accept if it does, or Create your account if it doesn't (the other option stays available as a smaller link underneath). New teammates get a dedicated sign-up that skips the plan picker entirely, so an invited team member is never asked to pick a plan or enter a card. Once they sign in or sign up, they accept and land directly in your account as a team member. The email must match the email on the invite or the acceptance is rejected.
Invites expire after 7 days. You can resend or cancel from the pending invites list.
Team-member limits per plan
Each plan includes a set number of team seats (Owner included):
| Tier | Team members |
|---|---|
| Starter | 2 |
| Growth | 5 |
| Pro | Unlimited |
| Enterprise | Unlimited |
If you try to send an invite past your cap, or accept one when the team is already full, the API returns HTTP 402 and the dashboard prompts you to upgrade. See Plans and trials for the full tier matrix.
Change a role
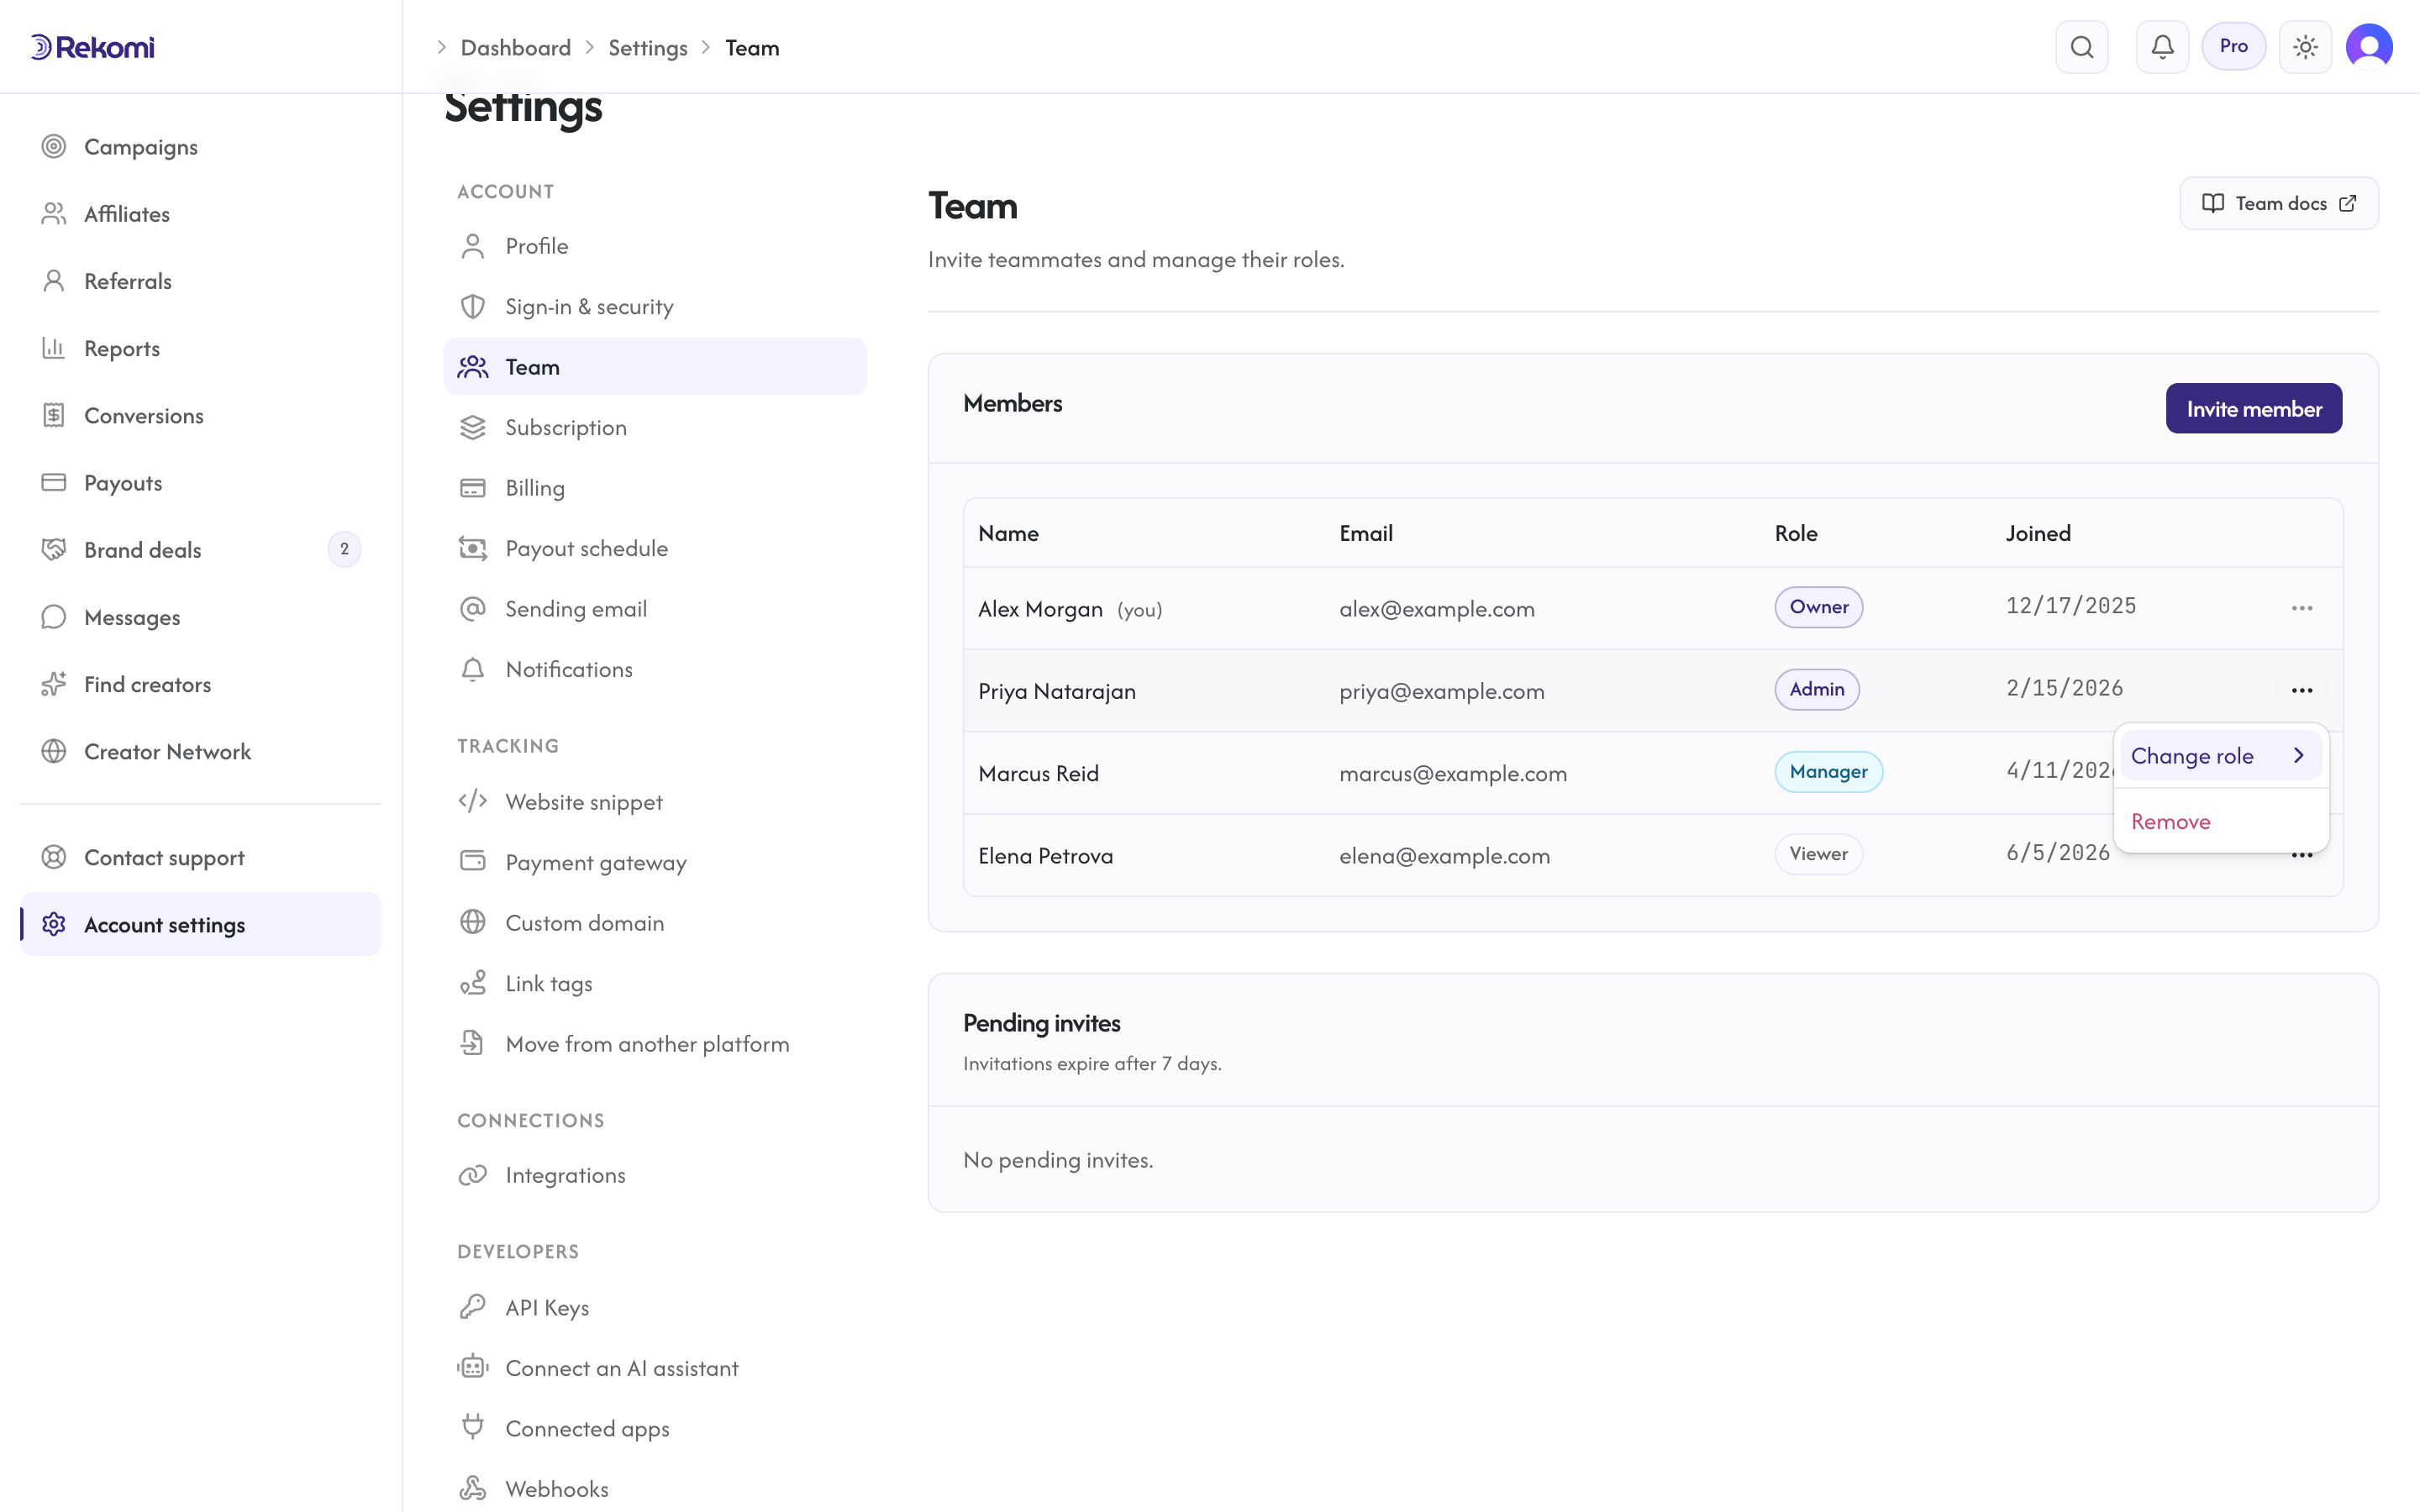
From the team list, open the actions menu (the "..." button at the end of any row) and choose "Change role". A submenu lists the four roles; pick the new one. Owners and Admins can change roles; only an Owner can grant the Owner role or change an existing Owner's role, and the last Owner cannot be demoted. The audit log records every role change.
Remove a member
Open the actions menu (the "..." button) on any row and choose "Remove". Owners and Admins can remove members; only an Owner can remove another Owner, and at least one Owner must always remain (to leave as the only Owner, promote someone else to Owner first). Removal is immediate: the member's access ends, any connected-app grants for this organization are revoked, and further requests to this workspace are refused. Their data (audit log entries, prior approvals) stays for the historical record.
Last-owner protection
You cannot:
- Remove the last Owner from the org.
- Demote the last Owner to Admin, Manager, or Viewer.
- Grant or change the Owner role unless you are an Owner (promoting another member to Owner is how ownership is shared or handed over).
These rules are enforced by the server, not just hidden in the UI. A direct API call that violates them is rejected with a clear error.
Accepting an invite
The accept page at /invites/{token} shows the org name and the role you are being invited to, with one primary button that matches your situation: Sign in to accept when the invited email already has a Rekomi account, or Create your account when it doesn't. Signing up from an invite never involves a plan picker or a card.
If you are already signed in with a different email, the page tells you which email the invite is for and offers a Switch account button that signs you out and takes you to sign-in with the invited email prefilled.
Once you accept, you land on /dashboard with the new organization in context. If you belong to multiple orgs (you are an affiliate, you own one brand, and you got invited to another brand), use the org switcher in the top bar.
Multiple organizations per user
A single user can belong to many organizations with a different role in each (for example, an affiliate in one and a team member in another). Use the brand switcher on the right side of the top bar to flip between them (it appears once you belong to two or more brands); your avatar menu lists the same switch actions.
Creating another organization
You don't need a second Rekomi account for a second brand. Open your avatar menu and pick New brand account (with two or more brands, the same action also sits at the bottom of the top-bar brand switcher): it creates a separate organization under your existing login, with its own campaigns, affiliates, billing connection, subdomain, plan, and team, and switches you into it. You'll pick a plan for the new organization next; each one gets its own 14-day free trial when you do. You can own up to 10 organizations; contact support if you need more.
When do you need a second organization, versus another campaign in your current one? Each organization holds exactly one payment-processor connection (one Stripe account, one Shopify store, and so on) and one brand identity (logo, name, yourbrand.rekomi.com portal). So:
- Same processor, same brand, different site or product: add another campaign; each campaign has its own destination website, tracking install, and terms.
- Different processor account or a genuinely different brand: create a new organization from the switcher. Each organization is billed separately.
How a new member's role is set
A new member starts with the role from their invite. Any Owner or Admin can change it later from the team list. There is no rule preventing you from lowering your own role beyond the last-owner protection.
Audit trail
Every team operation (invite, accept, role change, remove) is recorded in the audit log at /dashboard/settings/audit-log. The audit row includes who did what, when, and to whom. Useful for compliance and for debugging "who removed Sarah" questions.