

Organization settings
Profile, brand color, timezone, API keys, audit log, webhooks.
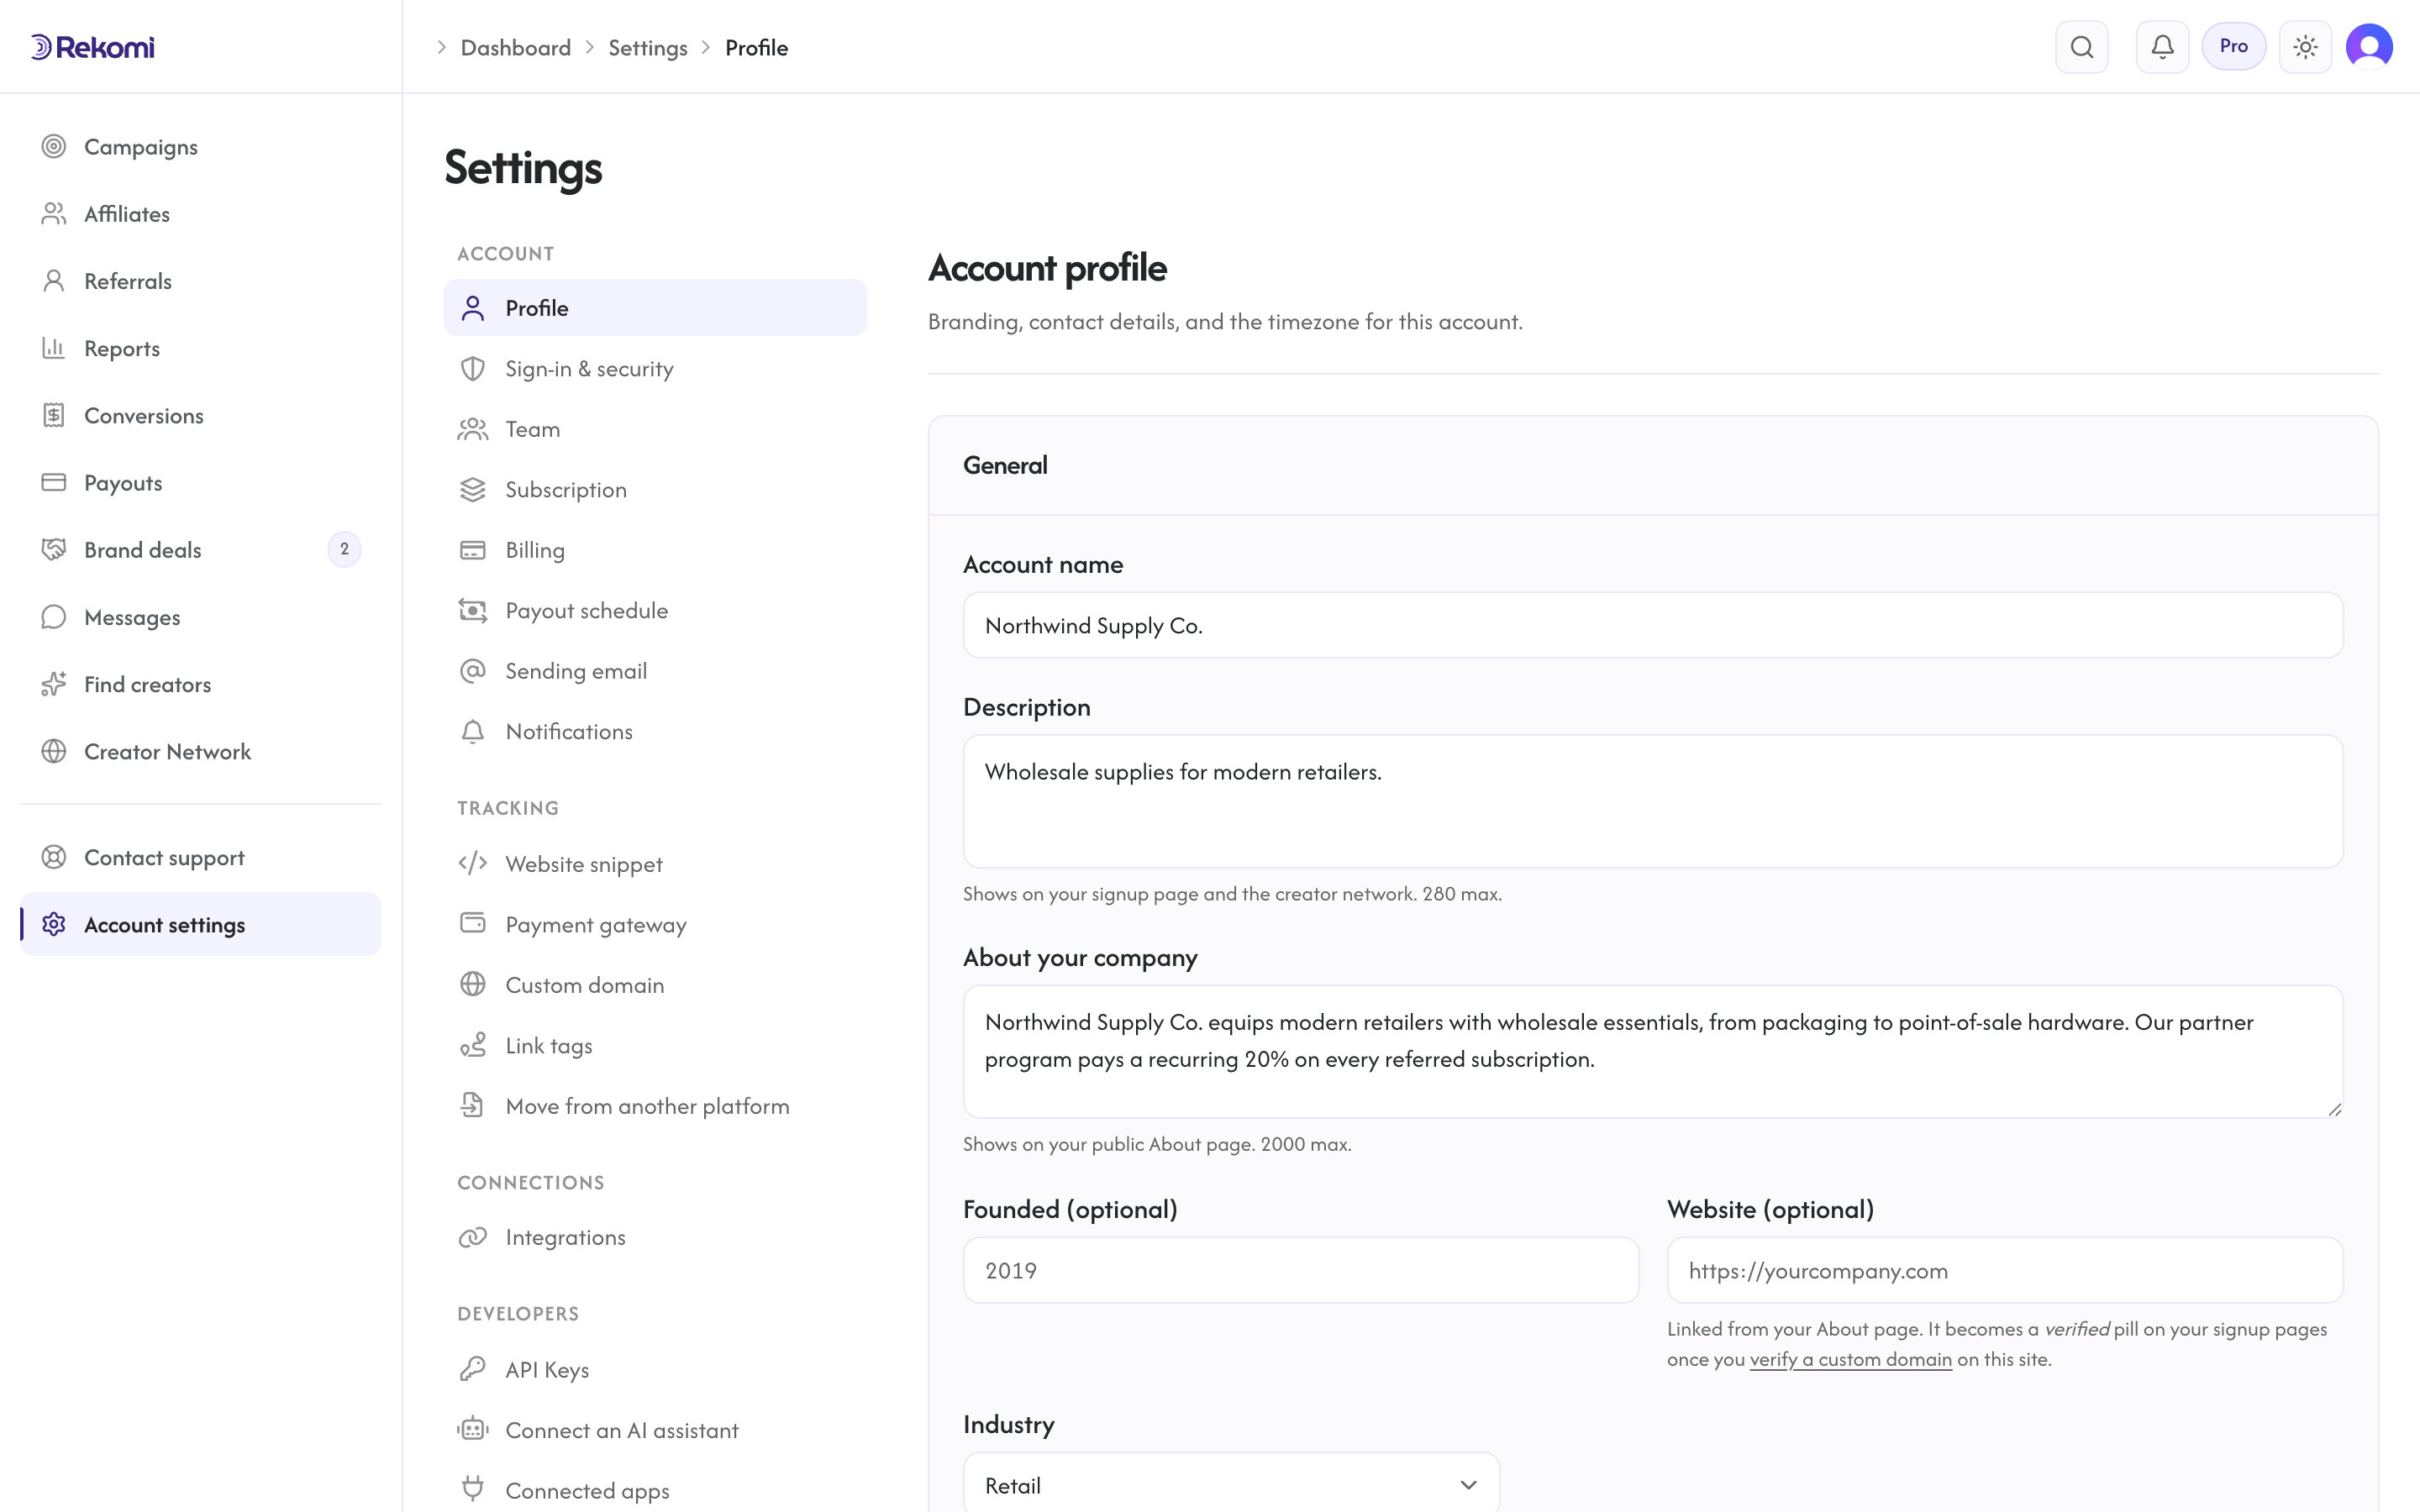
The settings area at /dashboard/settings opens from the sidebar's Account settings row or your avatar menu's Account settings item, and uses a grouped left rail:
- Account: Profile, Sign-in & security, Team, Subscription, Billing, Payout schedule, Sending email, Notifications
- Tracking: Website snippet, Payment gateway, Custom domain, Link tags, Move from another platform
- Connections: Integrations
- Developers: API Keys, Connect an AI assistant, Connected apps, Webhooks
- Security: Audit Log
This page covers the most-used sections. Payouts has its own guide (Payouts), notifications are covered in Notifications, sending from your own email domain in Sending email, and attribution params in Tracking and attribution.
Profile
/dashboard/settings/profile
Edit your organization profile. Fields:
- Organization name: shown to affiliates on the public application page and in transactional emails.
- Description: shown on your landing page and the creator network.
- Industry: your business category.
- Billing email: where Stripe invoices go.
- Timezone: IANA timezone (UTC by default). Affects timestamps shown across the dashboard and email sends.
- Primary brand color: hex like
#0E7C7B. Used in transactional email templates and (in future) the public application page accent. - Logo: drag and drop or choose a file to upload. Used in transactional email templates.
- Favicon: optional; falls back to the logo.
- About text, founded year, website: power your portal's About page at
{your-subdomain}.rekomi.com/about, alongside your discoverable campaigns and their real terms, and a payout trust line. The About text is rich text (bold, italics, lists and https links; up to 2000 characters), edited here or in the campaign page editor's About tab, which also holds an optional custom section.
Save. Changes apply immediately.
Verified socials
Below the profile form, the Verified socials card lets you connect your brand's social accounts with OAuth. Connecting proves ownership, and each connected account shows on your public signup page and About page as a verified pill: the platform icon, your follower count pulled straight from the platform, and a check mark. Visitors see platform-verified numbers, not self-reported ones.
Click Connect on a platform and approve the request on the platform's own screen; you land back here with the account connected. Facebook asks you to pick a Page when you manage more than one. Follower counts refresh automatically. Disconnect keeps the last verified numbers greyed out; Remove deletes the connection and its history outright.
Two notes:
- The signup page pills are controlled per campaign in the page editor (Design, then Brand): one switch for the whole row, plus a per-source toggle for your website and each connected account, so different campaigns can show different pills. Unconnected social accounts show a Verify button there that brings you back to this card. The About page always shows connected accounts.
- The website pill is verified too, never self-reported. If you run Rekomi through the Shopify, Wix, or BigCommerce app, it is automatic: your store's own domain (the one your platform verified for you) appears as the pill with nothing to set up. Otherwise it appears once you verify a custom domain, whose DNS record proves you own the domain. Either way, if the website in your profile lives on that same domain, the pill links your exact website instead.
- Connecting works inside the Shopify, Wix, and BigCommerce apps too: open Settings, then Verified socials, and click Connect. The platform's sign-in opens in a small popup window and returns you to the admin automatically once you approve. If your browser blocks the popup, allow popups for your store admin or use the web dashboard at app.rekomi.com instead. Either way, the pills appear on your pages no matter where you manage the rest of Rekomi.
Team
/dashboard/settings/team
Invite, manage, and remove team members. Four roles (Owner, Admin, Manager, Viewer). See Team management.
Subscription
/dashboard/settings/subscription
Your plan lives here: current tier, status, and usage at the top, with the plan picker right below for switching tiers (a quiet cancel link sits under the cards). The Manage in Stripe button opens the Stripe Customer Portal, where you can change plan, update payment method, view invoices, or cancel; Stripe handles proration on its side. See Plans and trials for the full lifecycle.
New brands hit /sign-up/plan first (after Clerk auth) to pick a tier and complete Stripe Checkout before they can reach /dashboard. The onboarding gate redirects a brand without an active subscription or trial back to /sign-up/plan, except invited team members, who join through the invite flow and are never asked to pick a plan or enter a card (the account they join already carries the subscription).
Billing
/dashboard/settings/billing
The money records, one tab each. Invoices lists your last 12 invoices with PDF links. Fees ledger is the running ledger of payout charges, affiliate payouts, and reversals. Payment method shows the card on file with an Update card button that one-clicks you into the Stripe Customer Portal. Payout funding source is how payout runs are funded: a bank debit in your region, or bank-transfer funding from anywhere. It is also one of the two things a creator network listing needs, alongside an active paid plan (see Apply to the curated network). Currency holds the home-currency selector (see Multi-currency).
API Keys
/dashboard/settings/api-keys
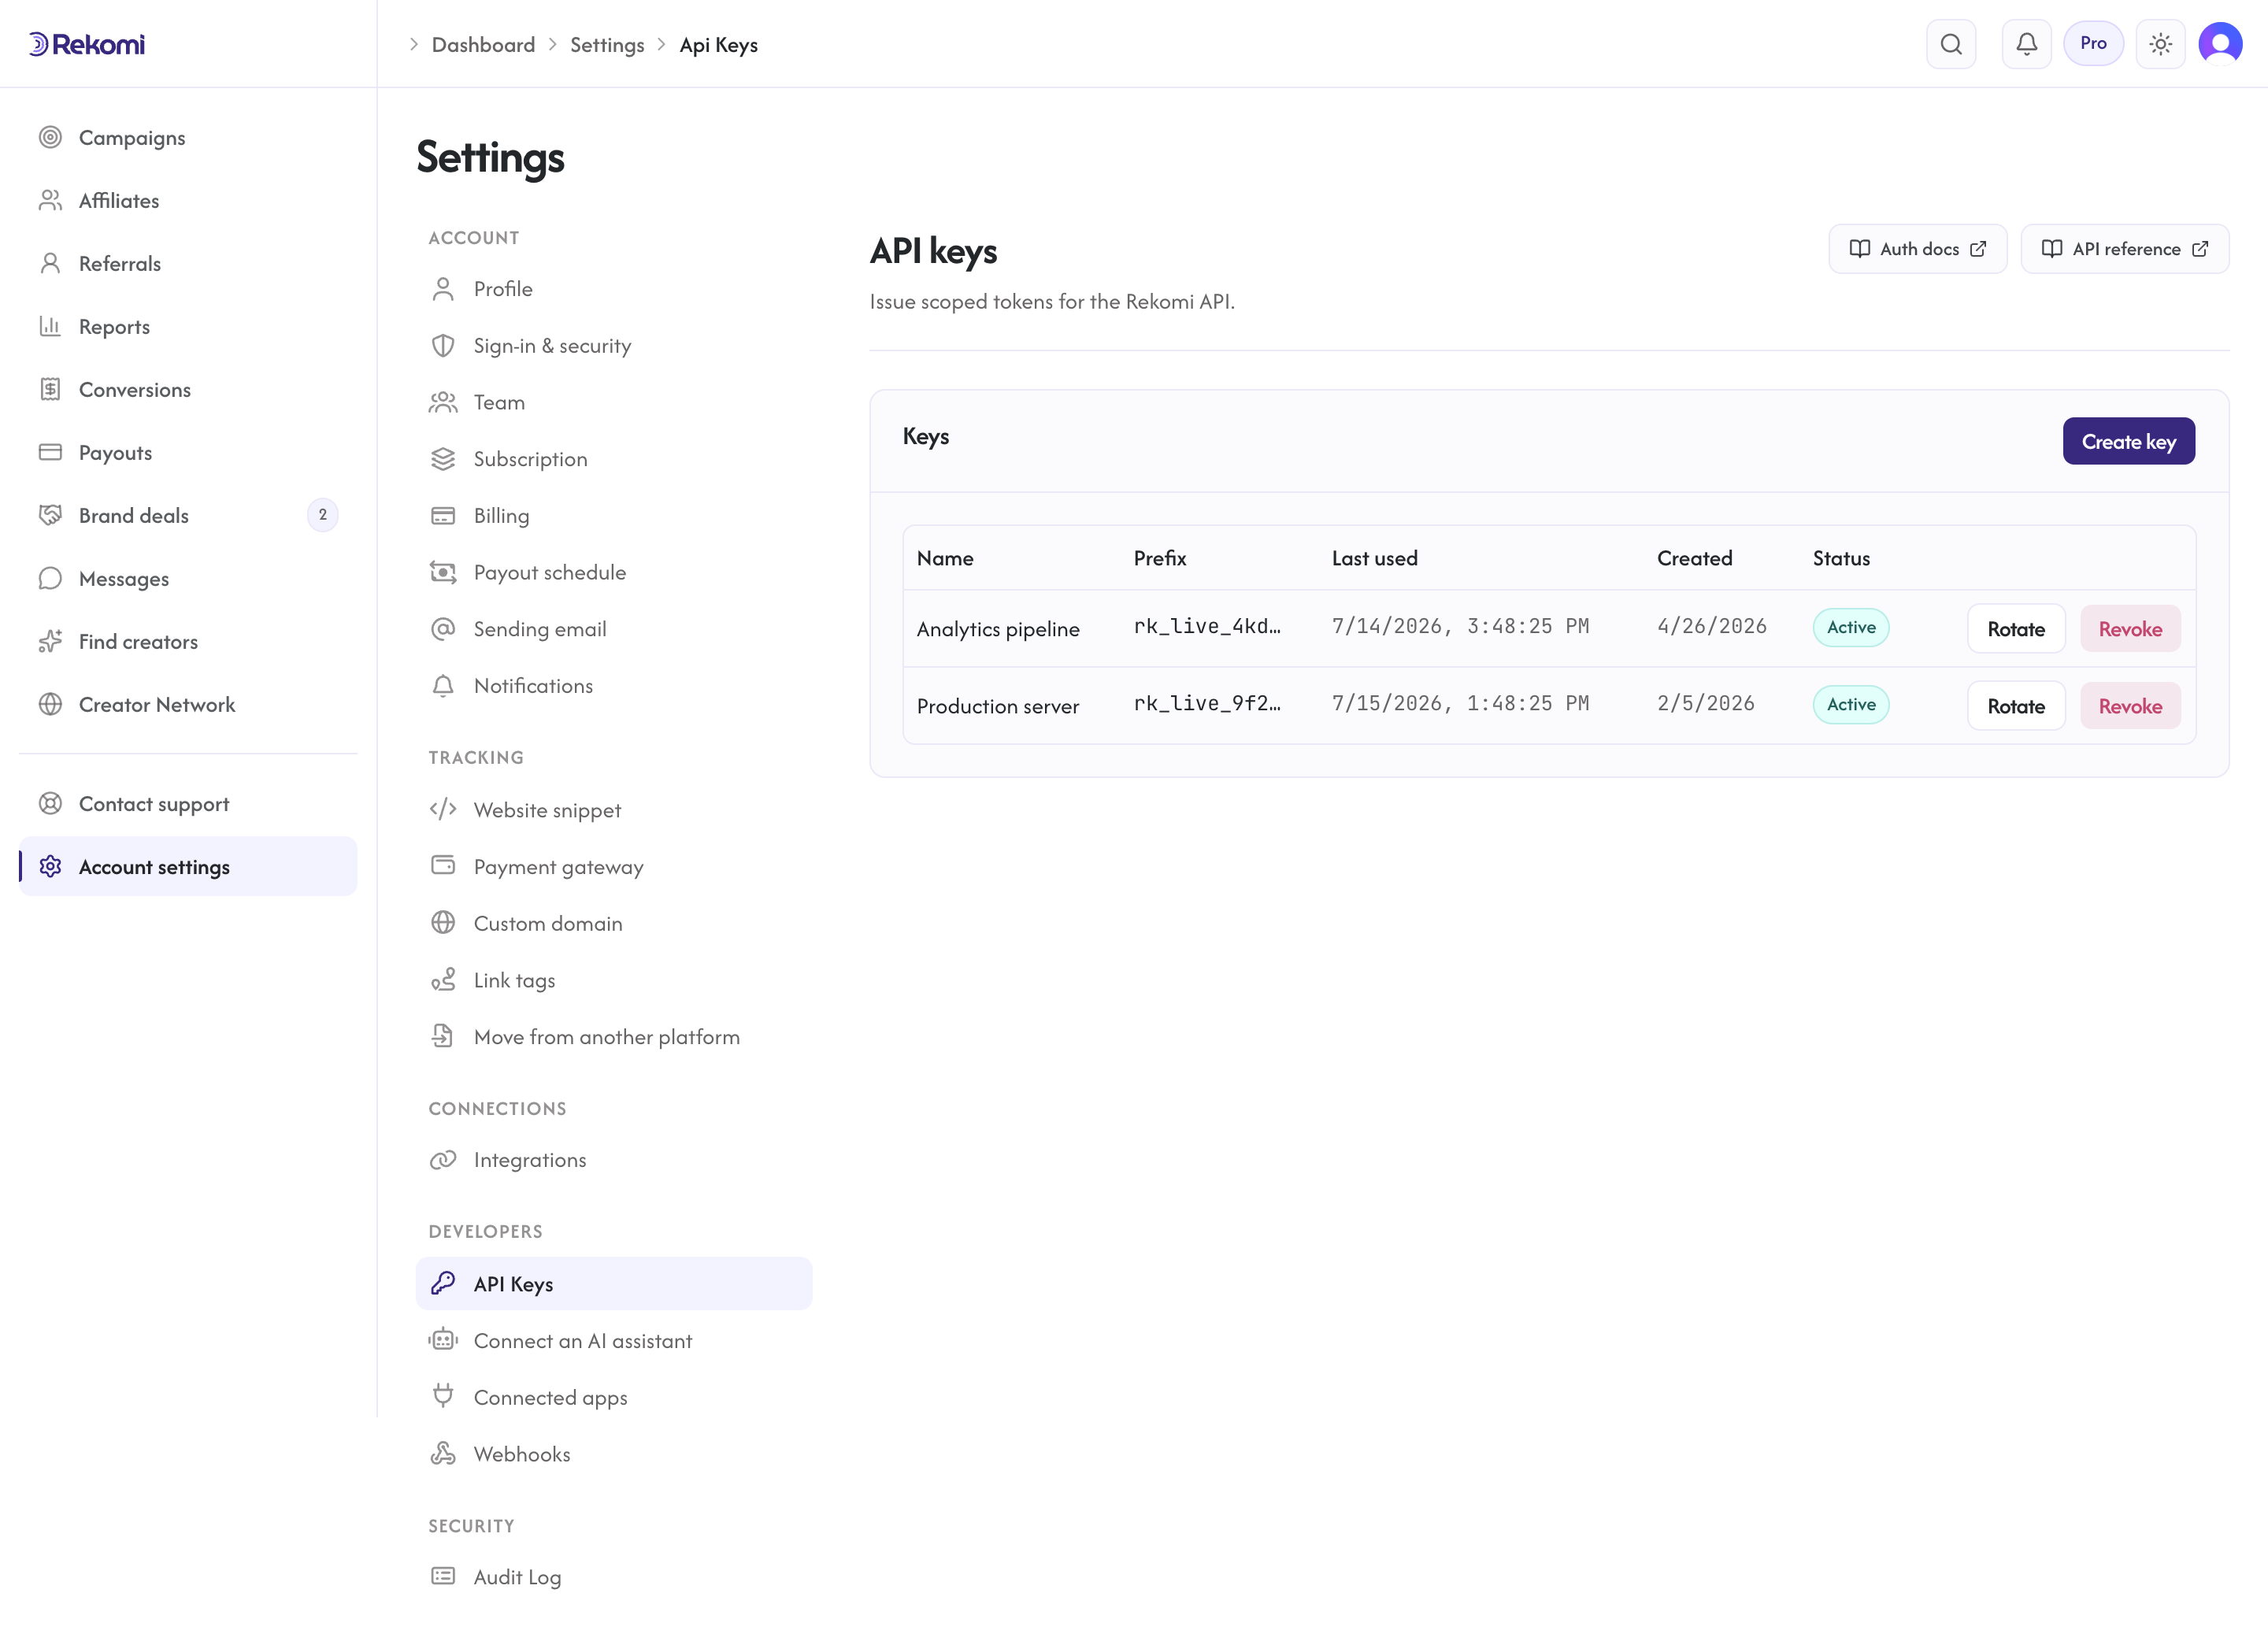
Create, rotate, and revoke API keys. Each key has:
- Name: human-readable label.
- Prefix: the first characters of the key (
rk_live_...), shown in the list so you can tell keys apart. - Plaintext bearer: shown EXACTLY ONCE at creation. Copy it now or you regenerate. Stored as SHA-256 hash on our side.
- Plaintext signing secret: also shown EXACTLY ONCE. Used for S2S tracking signatures. Encrypted at rest.
See Developer authentication for usage.
Webhooks
/dashboard/settings/webhooks
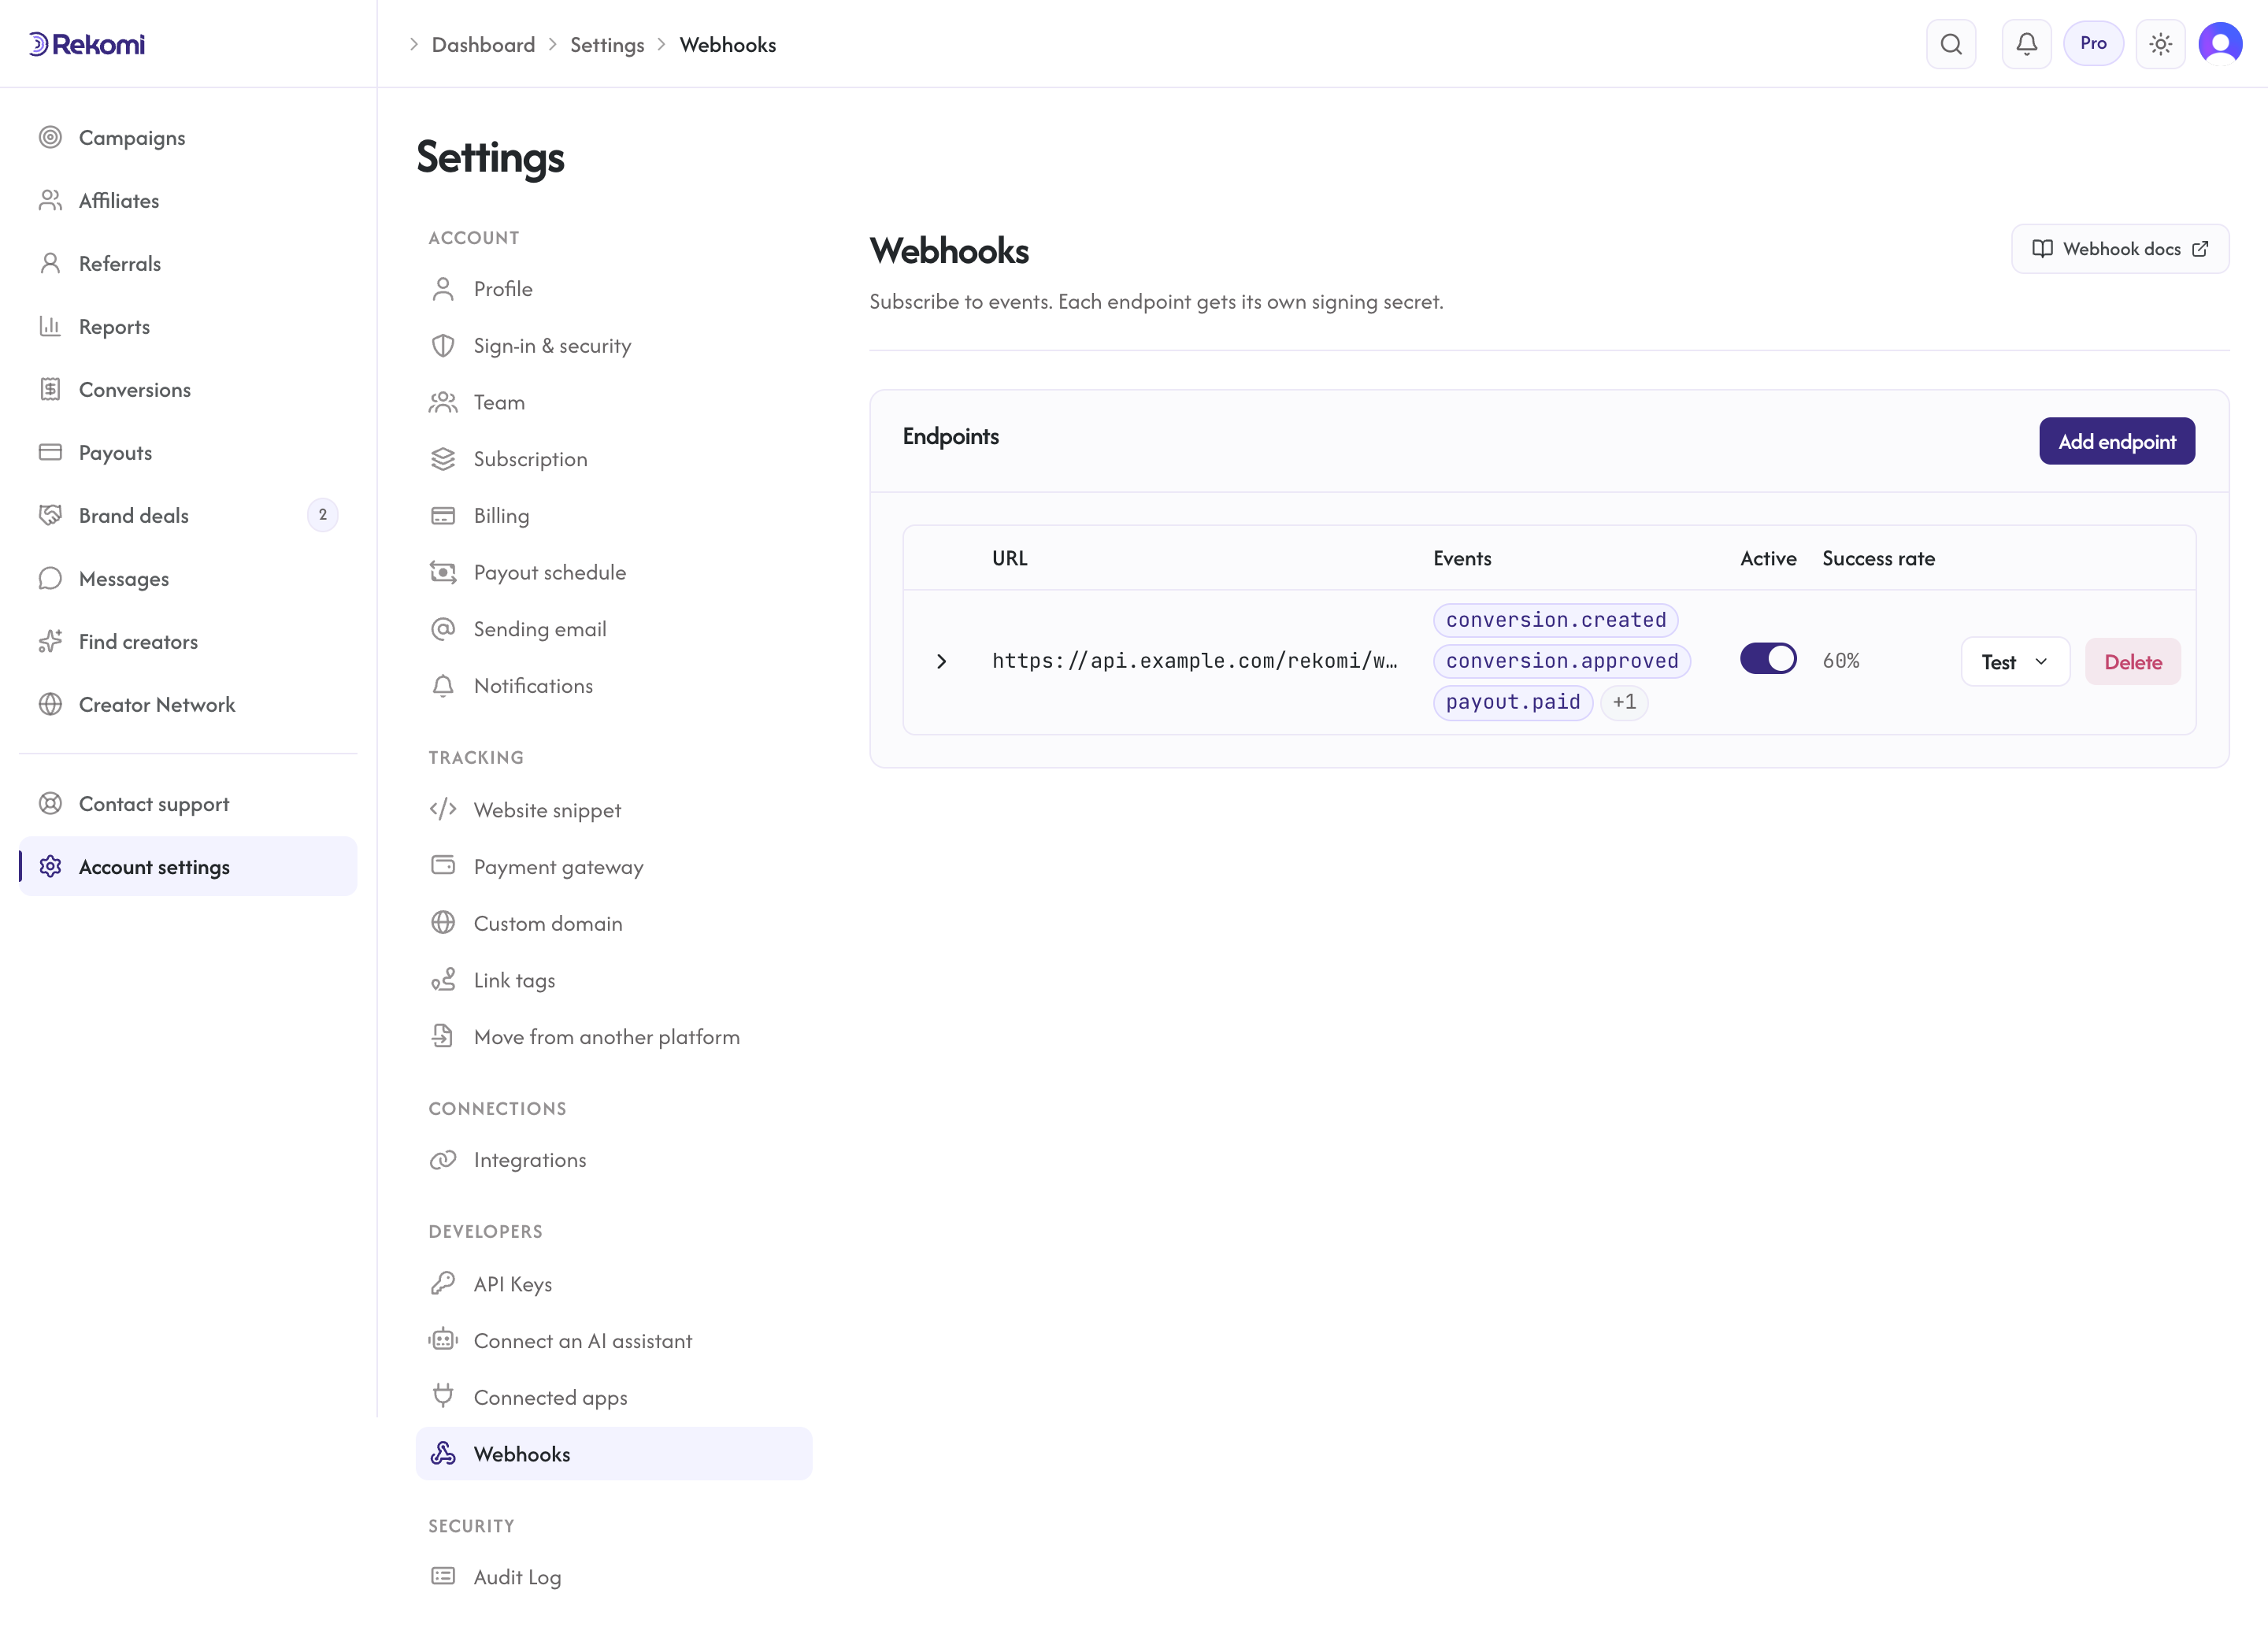
Subscribe to outbound webhook events. Per endpoint:
- URL (HTTPS)
- Event types (
*,conversion.created,conversion.approved,payout.created,payout.paid,affiliate.created,affiliate.approved) - Signing secret (HMAC-SHA256, shown once at creation/rotation)
Subscribing to * also delivers additional event types (refunds, denials, payout failures, coupon events); see Developer webhooks for the full catalog.
A background delivery service sends events to your URL. Failed deliveries retry with exponential backoff up to 5 attempts. Per-endpoint success rate is visible in the list (last 100 deliveries). Click any endpoint to expand its delivery history.
See Developer webhooks for verification code.
Audit Log
/dashboard/settings/audit-log
Read-only log of every admin action in your organization. Filter by:
- Action type (
program.created,affiliate.approved,payout.batch.created,webhook.endpoint.created, etc.) - Entity type (program, affiliate, payout, webhook_endpoint, organization)
- Date range
- Actor (which team member did it)
Expand any row to see the JSON diff (before / after).
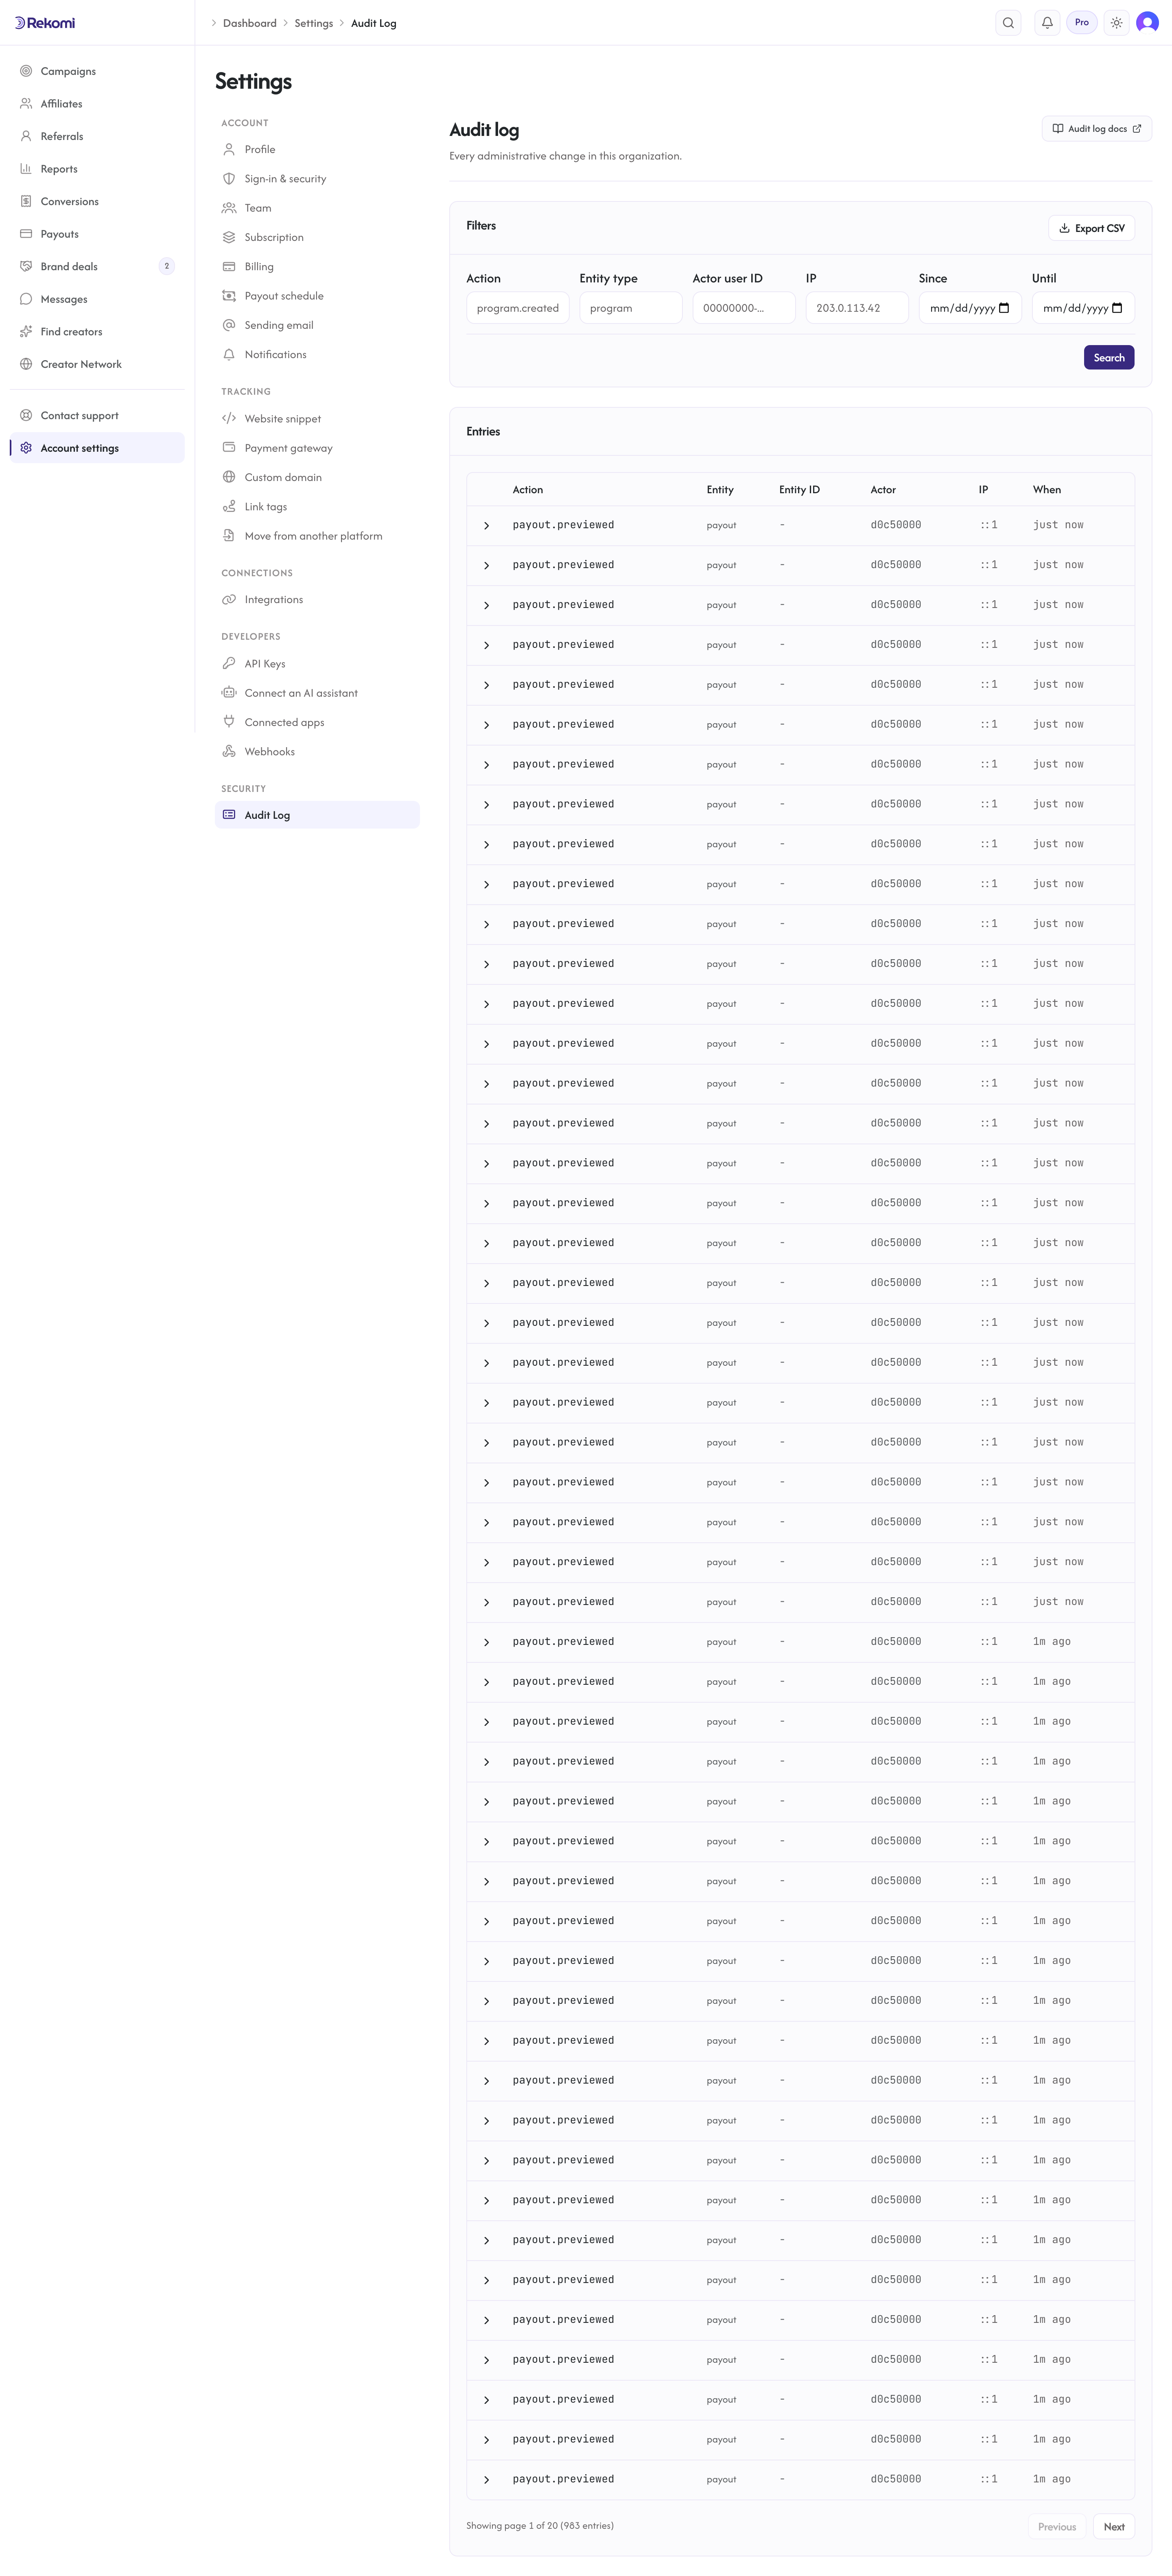
Click "Export CSV" with filters applied to get a CSV. Exported cells are guarded against spreadsheet formula injection.
Retention is currently indefinite. Per-tier retention windows are on the deferred list.
Migration
/dashboard/settings/migrate
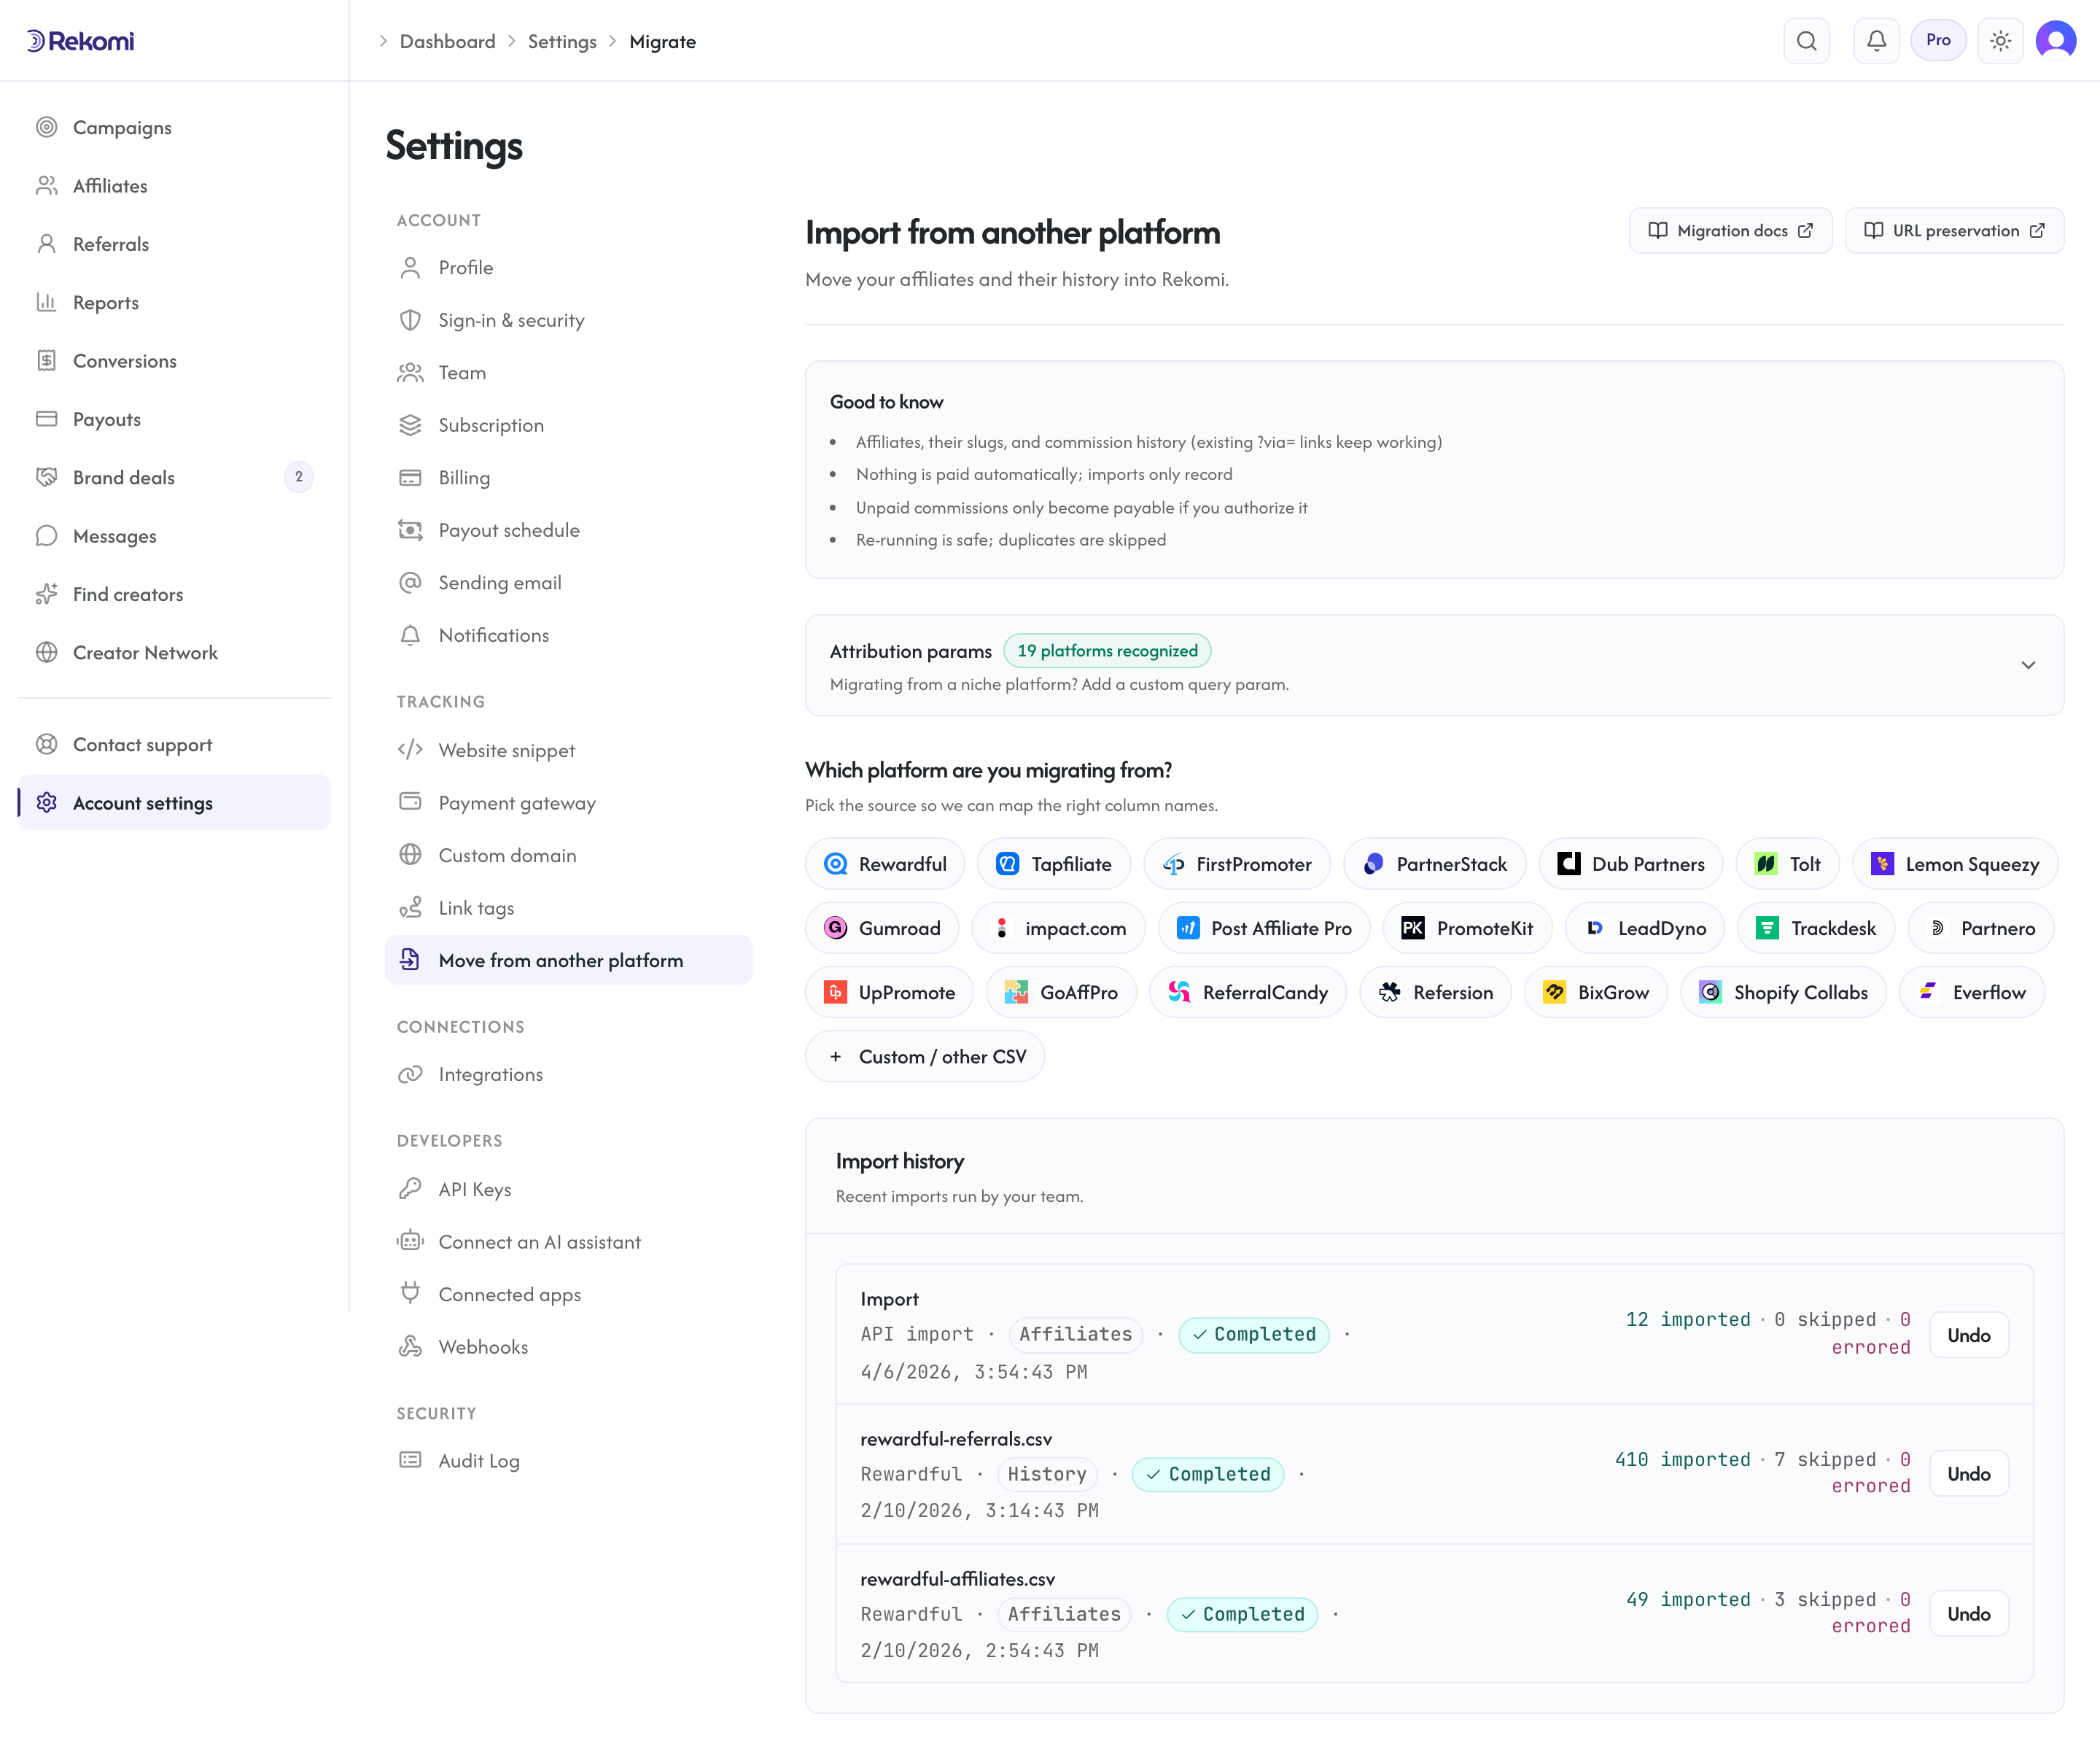
If you are coming from another affiliate platform, this tab is where you bring your existing affiliate roster across. Importers ship for 22 sources: API pulls for Rewardful, Affonso, FirstPromoter, Tolt, Lemon Squeezy, impact.com, PromoteKit, LeadDyno, Trackdesk, Partnero, UpPromote, GoAffPro, Refersion, and Everflow (most also bring leads, lifetime click counts, and commission history in the same run), and CSV uploads for Tapfiliate, PartnerStack, Dub Partners, Gumroad (whose sales history comes from a follow-up API pull), ReferralCandy, BixGrow, Shopify Collabs, and Post Affiliate Pro (both its canonical semicolon export and its grid exports parse directly), all provisioning affiliates plus their default tracking links in one pass. Optional auto-notify (Growth tier or higher) batch-emails every imported affiliate a brand-customized invite so they can claim their new Rekomi account.
Plan tier requirements:
- Starter or higher to run the importer (trial-eligible)
- Growth or higher with an Active subscription to fan out auto-notify emails (trial users can compose and preview but cannot send)
See the full step-by-step guide on Migrations from other platforms.
Custom affiliate-portal subdomain
Every brand gets a free branded affiliate portal at {your-brand}.rekomi.com on every plan, including Starter. Affiliates sign up there: your primary campaign at the root, each campaign at {your-brand}.rekomi.com/{campaign}. On every plan, you can serve those same pages from a domain you control (e.g. affiliates.yourbrand.com) instead. Affiliates see your own domain in the URL bar; Rekomi handles the routing transparently.
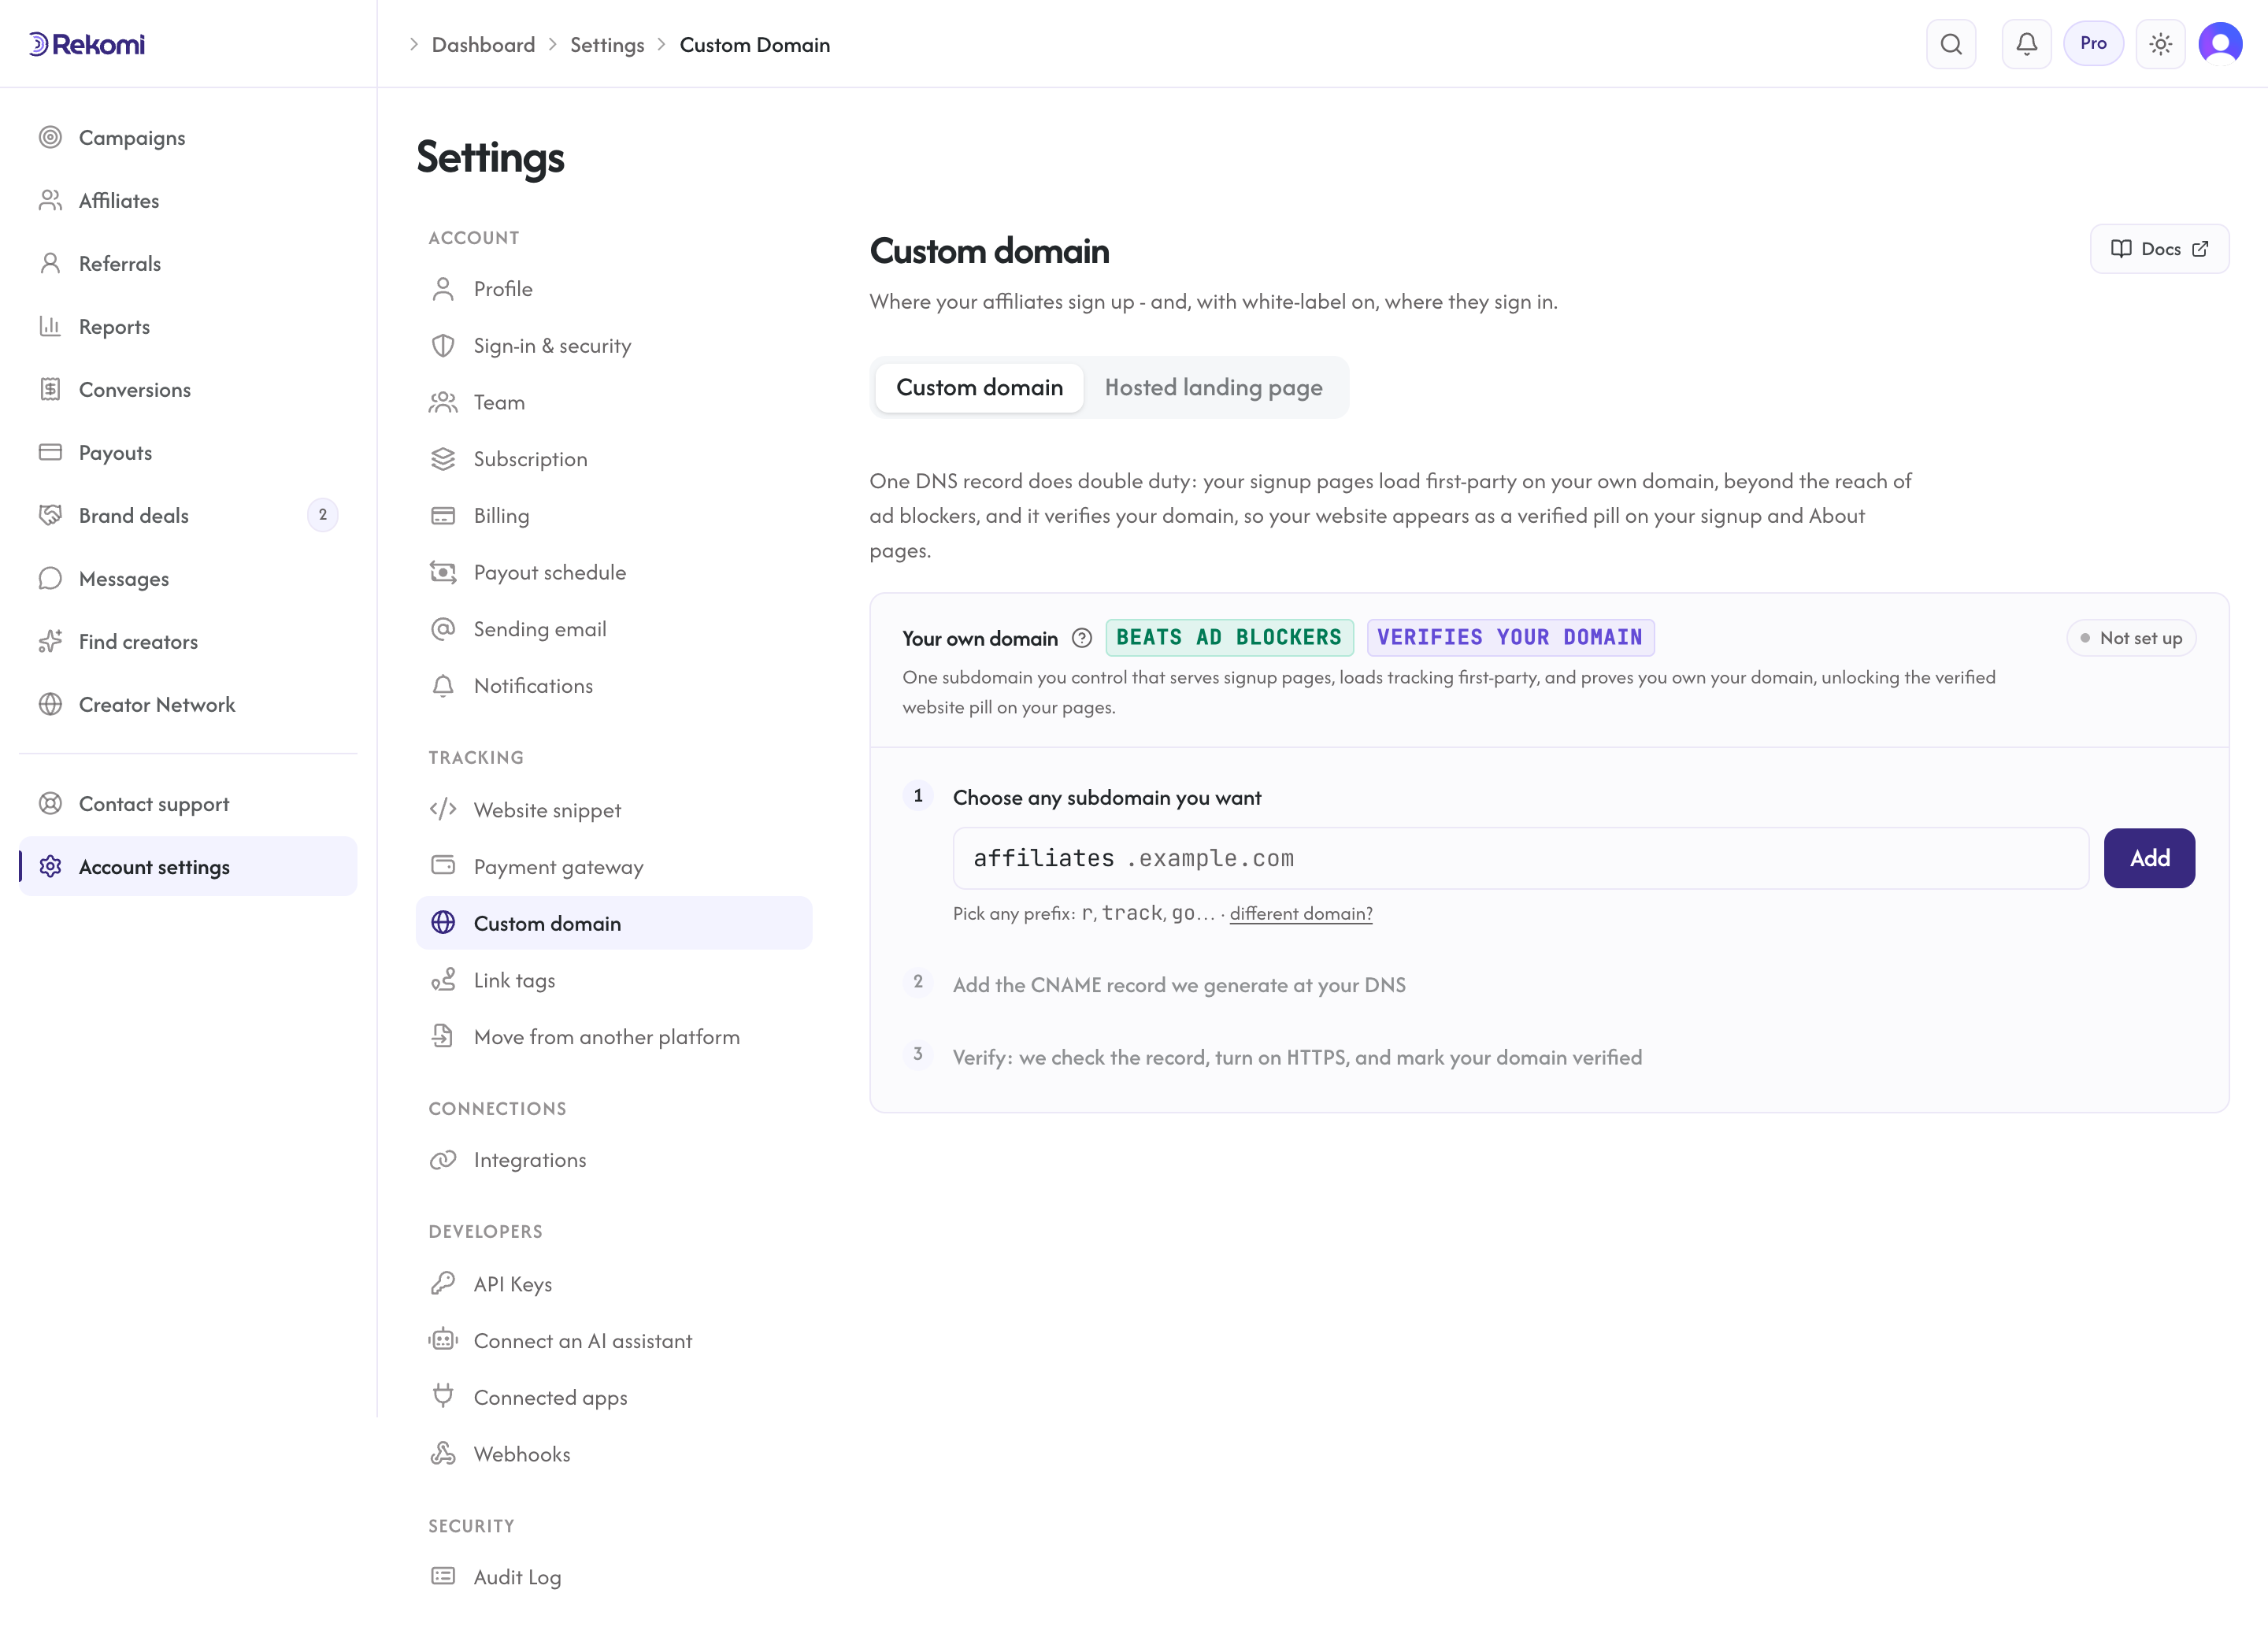
Configure the custom domain in Settings → Custom domain (the campaign detail page links there). The page has two tabs: Custom domain (the default, with the guided setup below) and Hosted landing page, where you pick the free {your-brand}.rekomi.com subdomain those pages start on. One domain covers your whole program across every campaign. The flow:
- Enter the subdomain you want (
affiliates.yourbrand.com). - Rekomi detects where your DNS is managed. If that provider supports one-click setup (Cloudflare today), the card leads with Add it for me: approve the record on their consent page (it is created DNS only, at the right subdomain) and you land back on the card, which verifies everything automatically. Otherwise, copy the CNAME record (
cname.rekomi.com) shown on the card and add it at your DNS provider by hand. - Click Verify (already done for you if you used Add it for me). Rekomi runs a DNS chain resolution to confirm the CNAME points at the right host; if DNS has propagated (usually a few minutes) verification completes right away. The domain is then auto-attached to our edge and an SSL certificate provisions automatically (usually within a few minutes).
Once verified, your primary campaign's public application URL is https://{your-domain}/ and each campaign lives at https://{your-domain}/{campaign}. These are clean paths, one per campaign, serving the same landing page renderer that powers your free {your-brand}.rekomi.com portal.
Verifying the domain does one more job: it proves you own the domain (adding the CNAME requires control of your DNS), so your website appears as a verified pill on your signup and About pages next to your verified socials. No separate setup; the same DNS record covers both.
Plan gate: none. The unified "Custom domain" feature (portal plus first-party tracking on one host) is included on every plan; most affiliate platforms reserve first-party tracking for their most expensive plans. The free {your-brand}.rekomi.com portal also stays available on every tier.
Stripe Connect (sales tracking)
Connect your Stripe account once and Rekomi tracks every sale and refund automatically. How the OAuth connect works, how attribution pairs with click tracking, and a technical overview of the webhook rail.
White-label
Remove Rekomi branding from your affiliates' dashboard, emails, and invite pages.